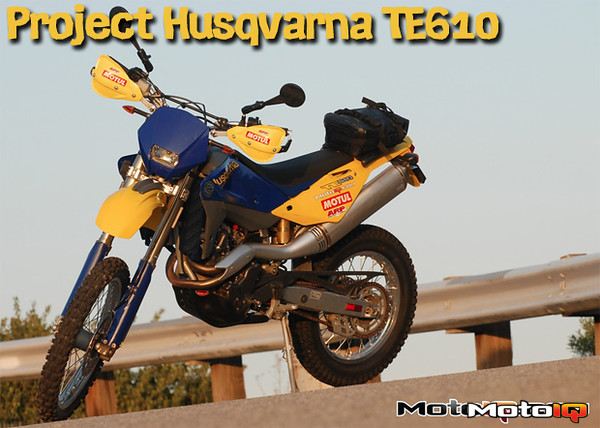

Project Husqvarna TE610 Part 4: Ergonomics and Armor
By Dan Barnes
Finally, we're going to start the fun stuff: upgrades! Having a bike fit you properly makes everything work better and is safer, especially in the dirt. In spite of its overall bigness, the TE610's cockpit is only of average size, and some details are more cramped than typical, so there was work to be done to make it fit this 6'4″ guy.
Handlebars
Proper handlebar position makes a night-and-day difference. If the bars are too low and too far back, they push the rider off balance, making it almost impossible to not use the handlebars to “hang on” to the bike, which is a recipe for the painful compounding of errors known as “whiskey throttle”.
My ideal handlebar position is such that when I'm standing, balls of my feet on the pegs and balanced in the “attack position” (elbows out and up, comfortable and not strained), my hands can encircle the grips without actually touching them. This puts my weight on my legs and allows me to move around freely on the bike, using my hands to control, rather than to hang on.
 |
| Though the TE610 is a big bike overall, its control layout is set up for an average-size rider, with the bars relatively far back and low. Fortunately, the cockpit can be opened up with little cost. |
 |
| The TE610's handlebar mount is bolted to the upper triple clamps with an offset toward the rear. An obvious opportunity is to flip the mount so the offset is toward the front, but the mount interferes with the factory “dash” when flipped. I duplicated the factory computer mount from 0.060-in aluminum sheet I had laying around, adding just enough length to move the computer clear of the bar mounts without interfering with the headlight fairing. |
The result looks stock (or a little sexier), saves several ounces, and cost only time. Threads on some of the stock M8 bolts clamping the bars were showing wear from just a few rounds of adjustment, so I replaced them with ARP bolts. With the bars rotated forward on the flipped mounts, there was enough improvement to move on to other areas.
Foot Peg Position
I was missing a lot of upshifts, just not getting the lever moved far enough, and was scraping up the ignition cover behind the shifter with the metal toe of my boot trying to make it work. I don't have the problem on my Yamaha, so I was pretty sure it wasn't just poor technique. I looked at what was different between the bikes and quickly realized that the Husky's shifter was much closer to the foot peg, only 4 5/16 in., whereas the YZ has 5 3/16 in. The foot pegs being mounted to the frame with separate brackets provides an opportunity.
 |
| The solution is a steel plate bolted to the original foot peg mounting holes and providing new holes for the peg brackets behind and below the original ones. The limit on rearward movement is the brake pedal on the right side. I ended up moving the pegs downward 5/16 in., keeping them no lower than the lowest point on the frame, but gaining additional rearward movement, for a total rearward shift of 11/16 in. After mocking up a sample part with MDF (HD CAD) to confirm the design, I used 5/16-in steel plate for the brackets. |
I first roughed the perimeters with a Sawzall. A really crappy drill press got the holes drilled, but it proved utterly incapable of producing countersinks for the grade 12.9 flat head screws. Zenith Performance Fabrication came to the rescue, finishing the countersinks perfectly on a mill in just a few minutes. Some OCD with large power sanders to finish the edges, and the brackets bolted up. On the left side, the back of the bracket must be relieved to clear the kick stand bracket on the frame and sit flat on the foot peg mounts. On the right, the brake pedal comes close but goes firm without touching the bracket.
 |
| Rust sucks, so I had the brackets black zinc plated. I also hit the bolts with LPS Cold Galvanizing Spray and semi-gloss Rustoleum before final installation. |