
Looking Back at Some Backyard Bodywork and Paint
By: Alex Vendler
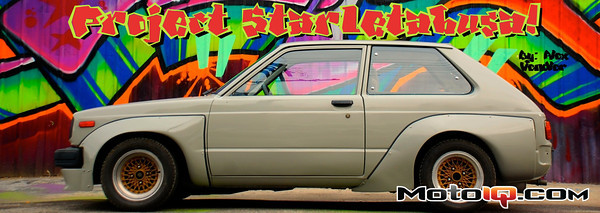
Now that everyone has at least gotten a glance at the Starletabusa project I will be building a time machine and going back to the days before I painted the car and giving a tour of how that process took place. Painting a car is one of the most complex and difficult projects a DIY warrior can take on. People are used to near perfect factory paint jobs so an amateur one really sticks out. In a bad way. To make matters worse there is a good amount of special equipment required to do bodywork and it's not interchangeable with the usual set of tools a home wrench-head would have. One also needs a clean, controllable, preferably indoor space to work in and then there's the time required. Cubic yards of time. Sikorsky Sky Crane payloads of time. Did I mention you need a lot of time?
First off, let's take a quick tour of the mess I made on my car and then it will be easy to do a better job now that these mistakes have been exposed and explained. As I mentioned in the Starletbusa introduction article the car had a pretty good number of small dings and dents as well as some previously repaired sections that still needed work. It also had a 5 piece fiberglass body kit that was in really sad shape due to several poor installation jobs on multiple cars in the past. In short this car would require a little bit of every kind of bodywork method to make it right again.
When the car came to me the flares were on it but the stock fenders were still sitting underneath untouched. In the rear the stock fender lips were cutting into the tires on every bump. This unwanted contact had also bent the rear quarter panels as well. The solution was to cut out the quarter panels and inner fender wells to allow the tire and wheel combo that the flares were designed for to actually fit on the car. No problem right? Err. Not so fast. The inner fender well and the quarter panel come together right at the wheel opening in a seam that forms the fender lip. If one cuts the quarter panel out to work with the flares there is now a hole to the interior of the car that needs to be filled.


Here you can see the new sheet metal that I added (the wedge shaped piece in the first photo) to the inner fender well in order to fill the gap left behind by trimming the outer panel. The new metal was welded in and the seams were then sealed with a body panel putty designed for the job (More on all the special products needed for paint and boy work in a bit.). This process of “half tubbing” the rear fenders gives me ton of room for any imaginable tire size or ride height combination in the future. Believe it or not the picture below actually shows the clearance with the suspension at ride height!

Up front it's much the same situation except there was no inner fender well so just cutting the fender did the job. Again, lots of room for any tire/wheel/ride height combo. The photo below show the suspension at full droop but even fully compressed there is a ton of room for anything I want by way of wheels and tires. It turns out that a regular jigsaw was the best tool for cutting the fenders and inner wells. With a extra fine tooth blade a jigsaw is a good way to cut sheetmetal. Hearing protection is a must though as the ringing sound while cutting is deafening.