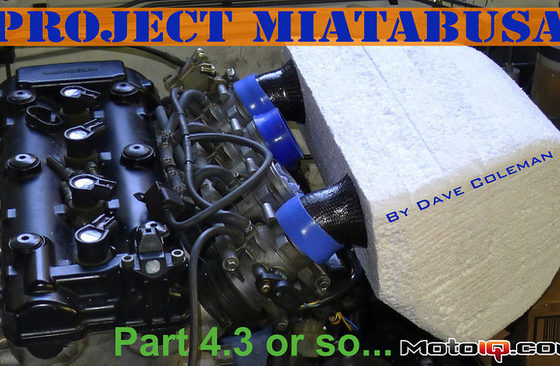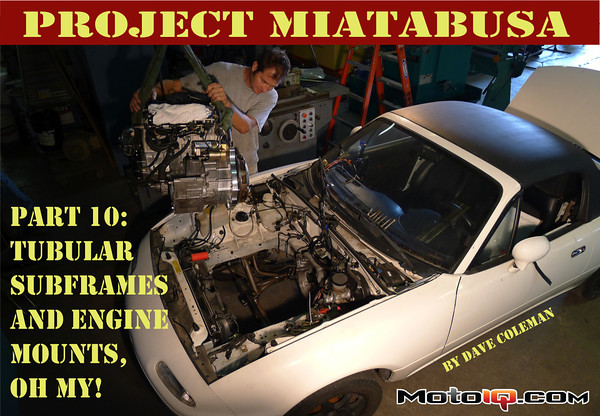

Project Miatabusa Part 10:
Tubular Subframes and Engine Mounts, Oh my!
by Dave Coleman
In July, 2010, we posted Part 2 of Project Miatabusa and proclaimed, in a very carefully worded headline, “The engine is in!” “In” was the operative word. Not “installed”, or “mounted” or anything nearly as accomplished as that. In fact, we had kinda faked it, hacking away with a plasma cutter to see just what the engine wasn't going to get along with. Let's recap just a bit:

Here's the stock 300-pound cast iron lump wedged in its cozy cradle of steel. Our initial dimensional study was done with a camera and a few IKEA tape measures. This was enough to convince us it would fit.

Our initial test fit started by removing the subframe, aligning the engine with the trans, and then trying to see if the subframe woud fit back in. It wasn't even close. In this picture, the subframe is hitting the engine, and the tape measure shows a massive 4-inch gap between the subframe and its mounting point on the frame rail.

So we did this. Plasma cutters are so much fun. Note that the passenger's side engine mount pad is now gone. There is zero chance of using Miata engine mounts on this thing.

Even though we were just putting the subframe in for a test fit, we still boxed in all the suff we'd cut out, because that's how we roll… At least when we're in Tim's giant fab garden of a shop.

The first problem revealed itself immediately. With the engine and subframe in place, the lowest point on the engine was cozy with (but not quite touching) the back of the rack. The power steering fittings on the rack, though, were in hard contact. When I originally de-powered the rack, I had planned just to plug the hydraulic fittings. With this hard contact, there was no choice but to hack them off and weld up the holes. No big deal, really.