
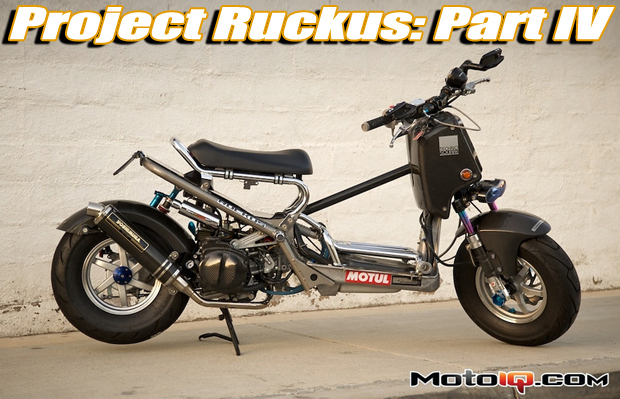

Project Ruckus Part 4, Building the ultimate Honda GET Engine
by Jeff Naeyaert
In part 3 of Project Ruckus we applied a bunch of bolt on mods to our bike to reach our goal of 50 mph with decent acceleration. Now that we have hit 50, we still have some shortcomings to our project. We feel that 50 MPH is the minimal top speed any street driven machine should have, any less and you end up being a hazard, cars tailgate and road rage may ensue. At the least, you might get cars tailgating and cutting you off, giving you the finger.
 |
| Our stock Honda head has an open chamber, shrouded valves and a low 11:1 compression. Great for running on 87 octane gas but not so great for making power. 11:1 would seem like a high compression but for the GET's tiny bore, you don't really have to worry about detonation as much. |
Although we can now easily reach 50 mph, our acceleration still leaves something to be desired, aggressive drivers still can tailgate even though we can now keep up with most traffic. On the fast major streets we still want more top speed. Of course there are some easy solutions like an engine swap. The GY6, Zuma and Yamaha Grand Axis are all larger and more powerful scooter engines that are popular swaps. However, we like our refined little Honda engine and its near 100 mpg fuel economy.
 |
| With the valves out, you can see the wide valve seat, the huge mismatch between the valve seat and the port and the necked down restrictive ports. Come back later after you see the completed head, you will be amazed how much this area is opened up. |
So of course we will set out to see if we can improve on what Honda did. We will set the bar for top speed at 60 mph on the flats with enough acceleration to keep up with the fastest commuter traffic. Our engine must run on pump gas and be rock solid reliable for daily riding. Basically we are trying to get the performance of a GY6 swap with the smoothness and fuel economy of the OEM Honda GET engine.
 |
| The first step in modding our head is welding up the combustion chamber to create a quench area, this is done by preheating the head with a mapp gas torch to minimize warping, then TIG welding the chamber up. |
 |
| After welding, Dan places the head gasket on the head deck surface and scribes the bore shape onto the head so he knows what parts of the deck to avoid when shaping the combustion chamber. |
 |
| The head with the scribed chamber bore dimension on the deck. |
 |
| Now Dan shapes the welded chamber with an air powered die grinder. |
|
| Now the rough chamber shape is completed. |

1 comment
Y’all sell these motors pre assembled? Would love one.